GETTING STARTED
From box to finished badge in a few minutes
You need three things: the e-paper badge, the EsterMini programmer and a USB-C cable. Connect the badge, design it in your browser, then unplug it — the image stays on the display without power.
Before you start
A
Work on a flat surface
The ribbon is thin and the connector latch is small. Put both parts down on a table rather than working over your lap.
B
Unplug the USB cable
Always connect or remove a badge with the programmer powered off. Plug in USB-C only once the latch is closed.
C
Hold the edges
Hold the badge by its white frame and the ribbon by its stiff golden end. Avoid pressing on the display or bending the ribbon sharply.
Connecting the badge to the programmer
The connector is a flip-lock: the latch has to be open before the ribbon goes in, and closed before the badge will work. This is what closed looks like — flat, with nothing standing up:
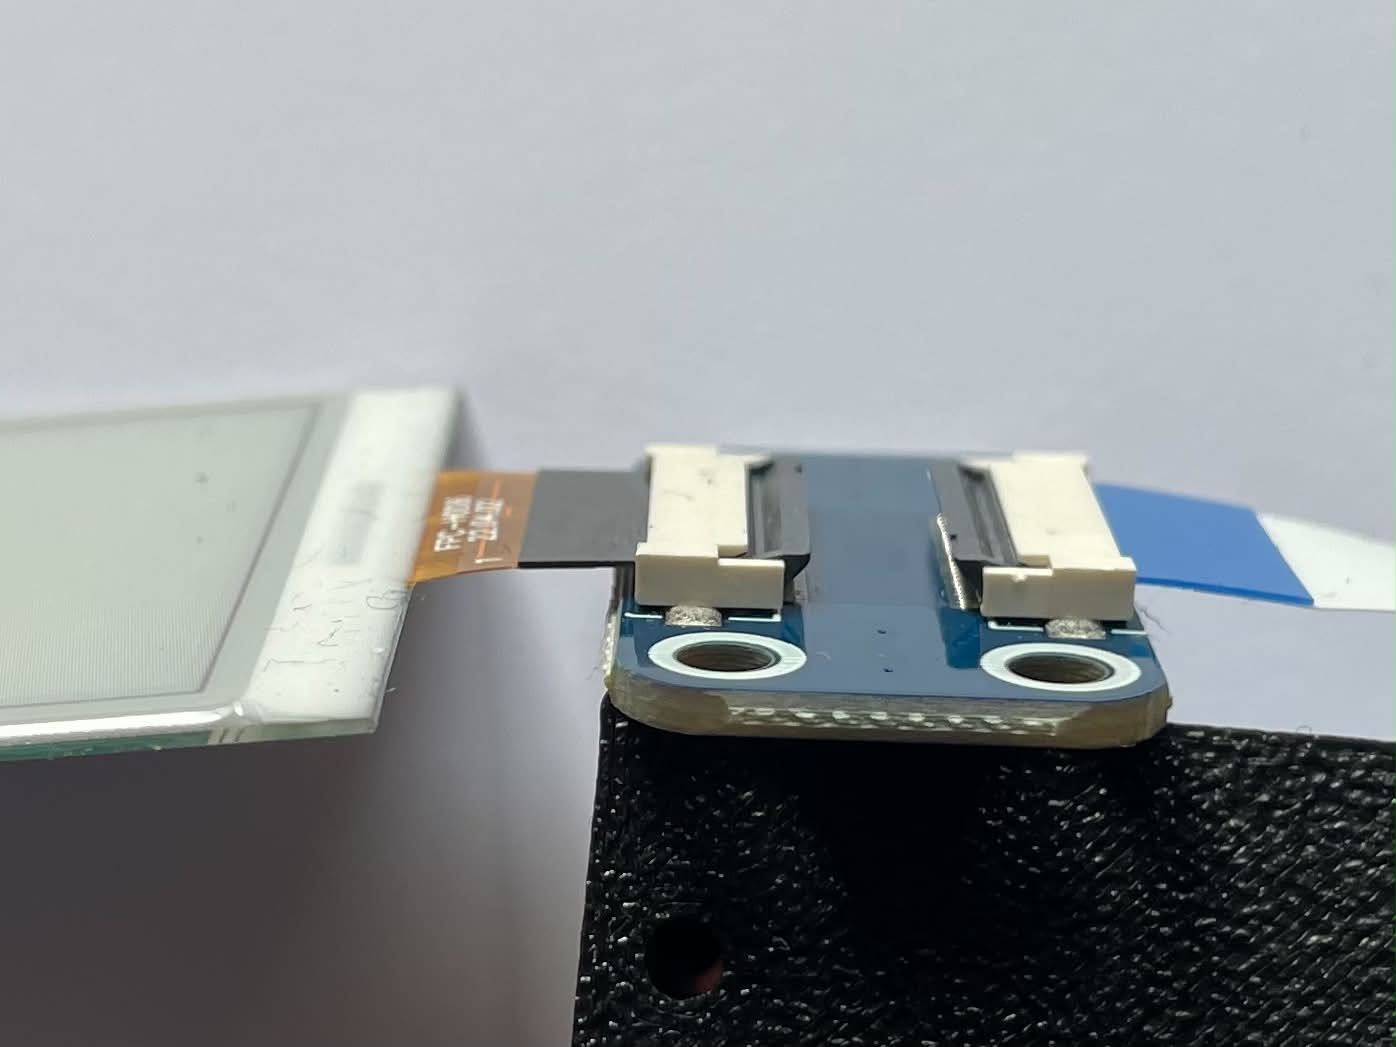
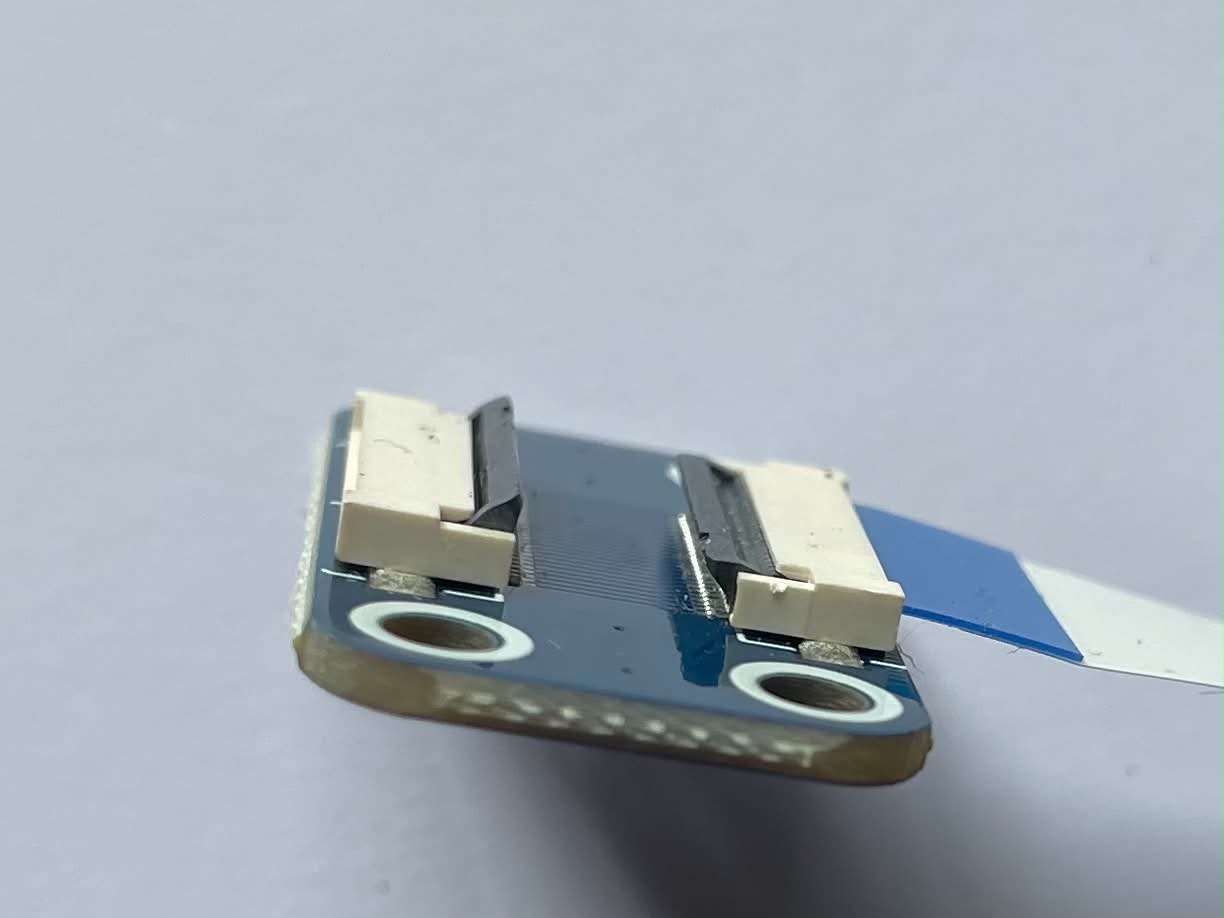
01
Open the latch
The programmer has two flip-lock connectors. Lift the small dark latch on the badge-side connector straight up until it stands open.
LATCH OPEN — READY FOR THE RIBBON 02
Line up the ribbon
Hold the badge with the display facing you. Its short golden ribbon leaves the bottom edge — bring it to the open connector with the contacts facing the board.
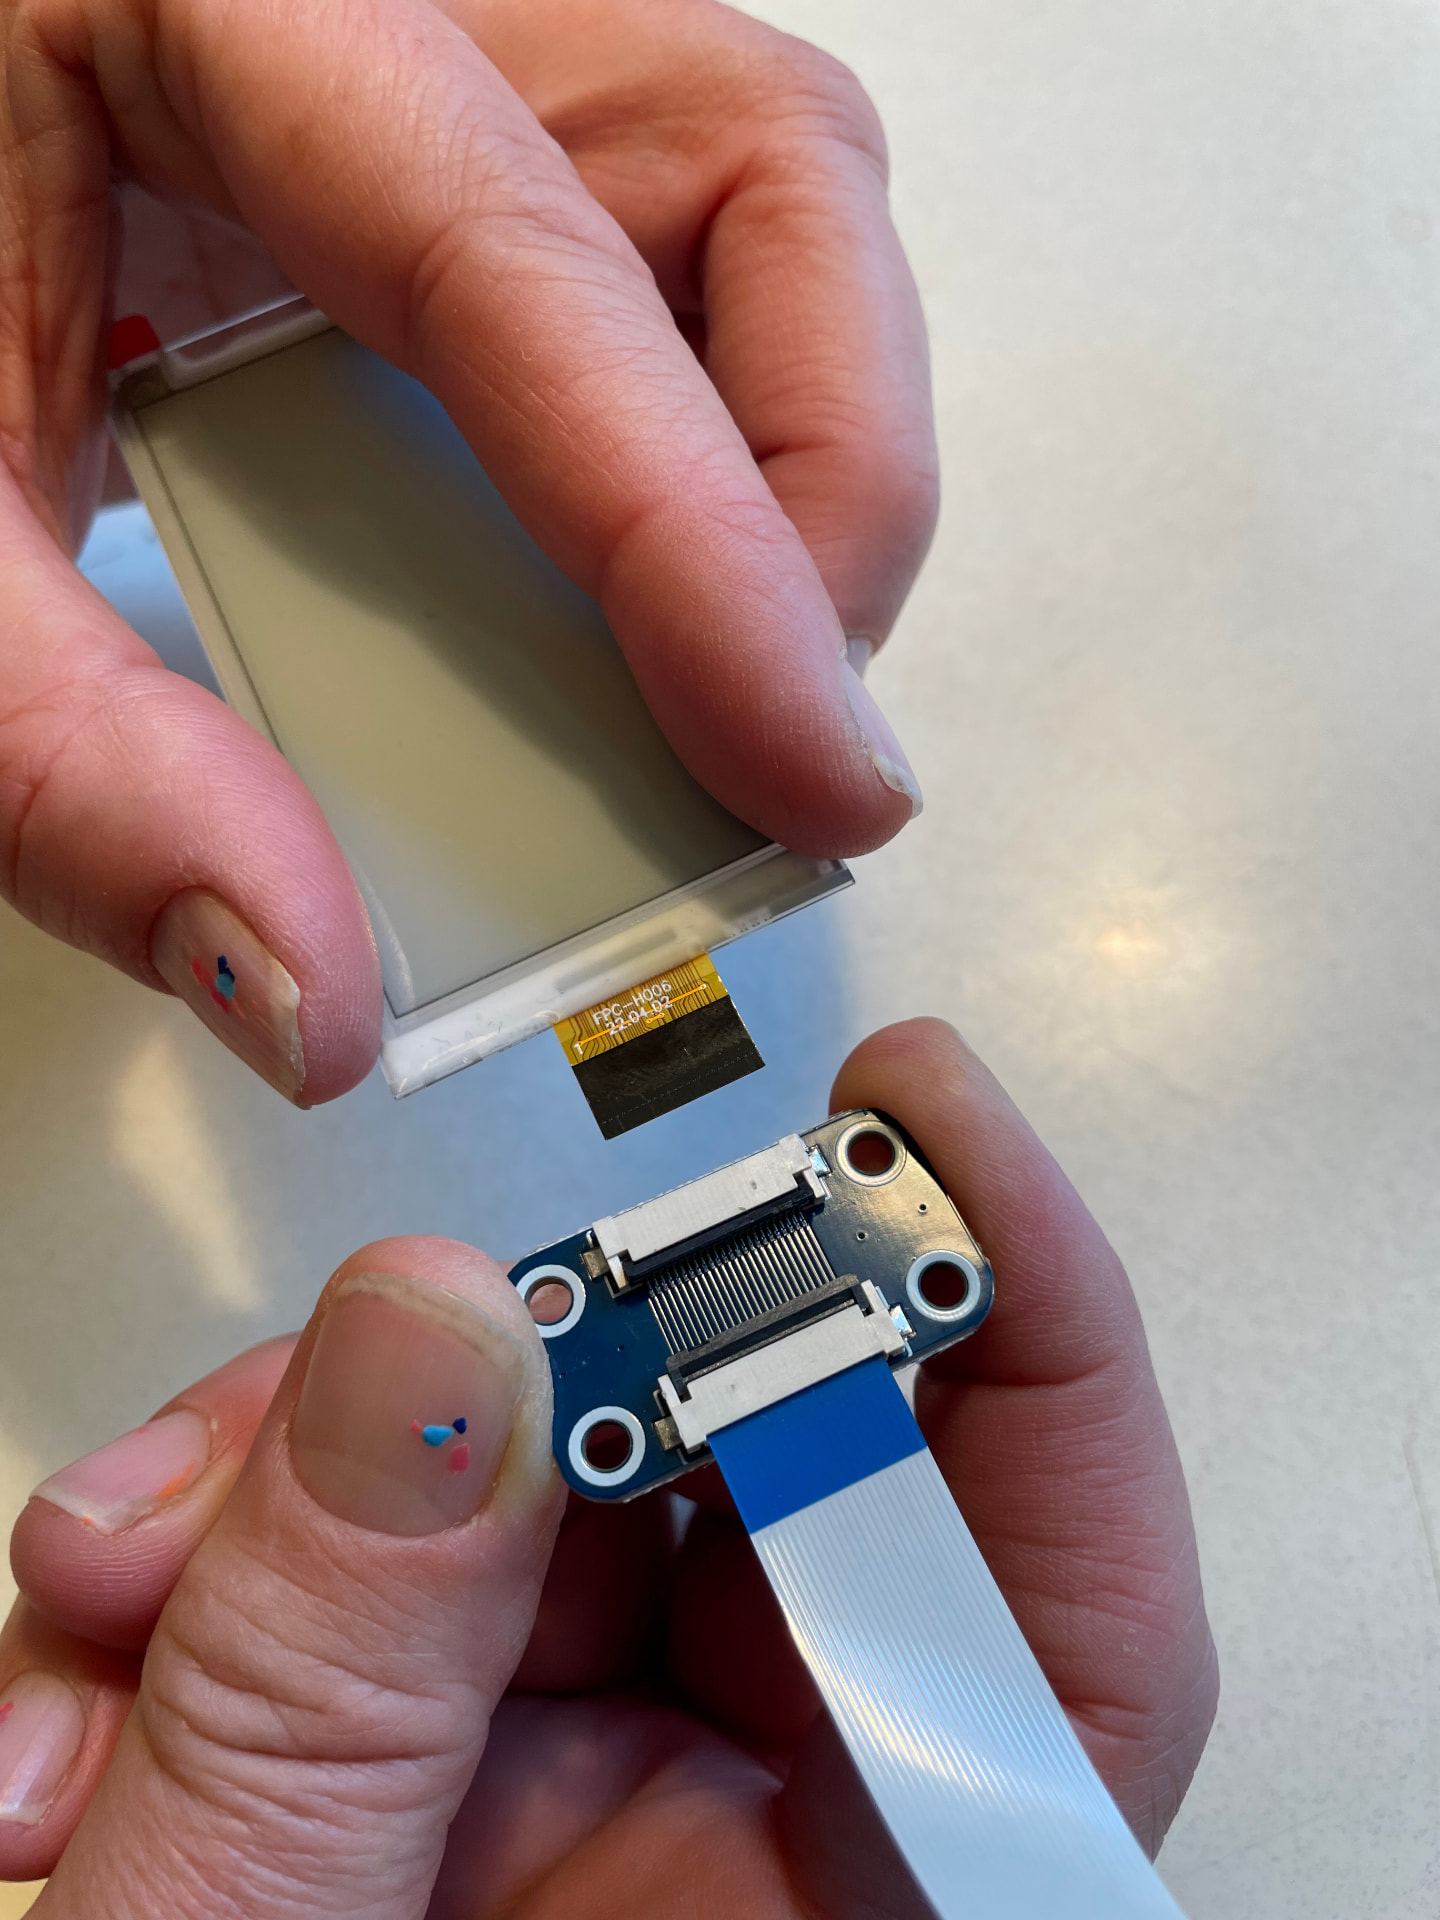
STEP 1 — RIBBON TOWARDS THE CONNECTOR 03
Slide it fully in
Push the ribbon in until it stops. It should go in straight and evenly — no ribbon visible skewed to one side, no gap left at the connector mouth.
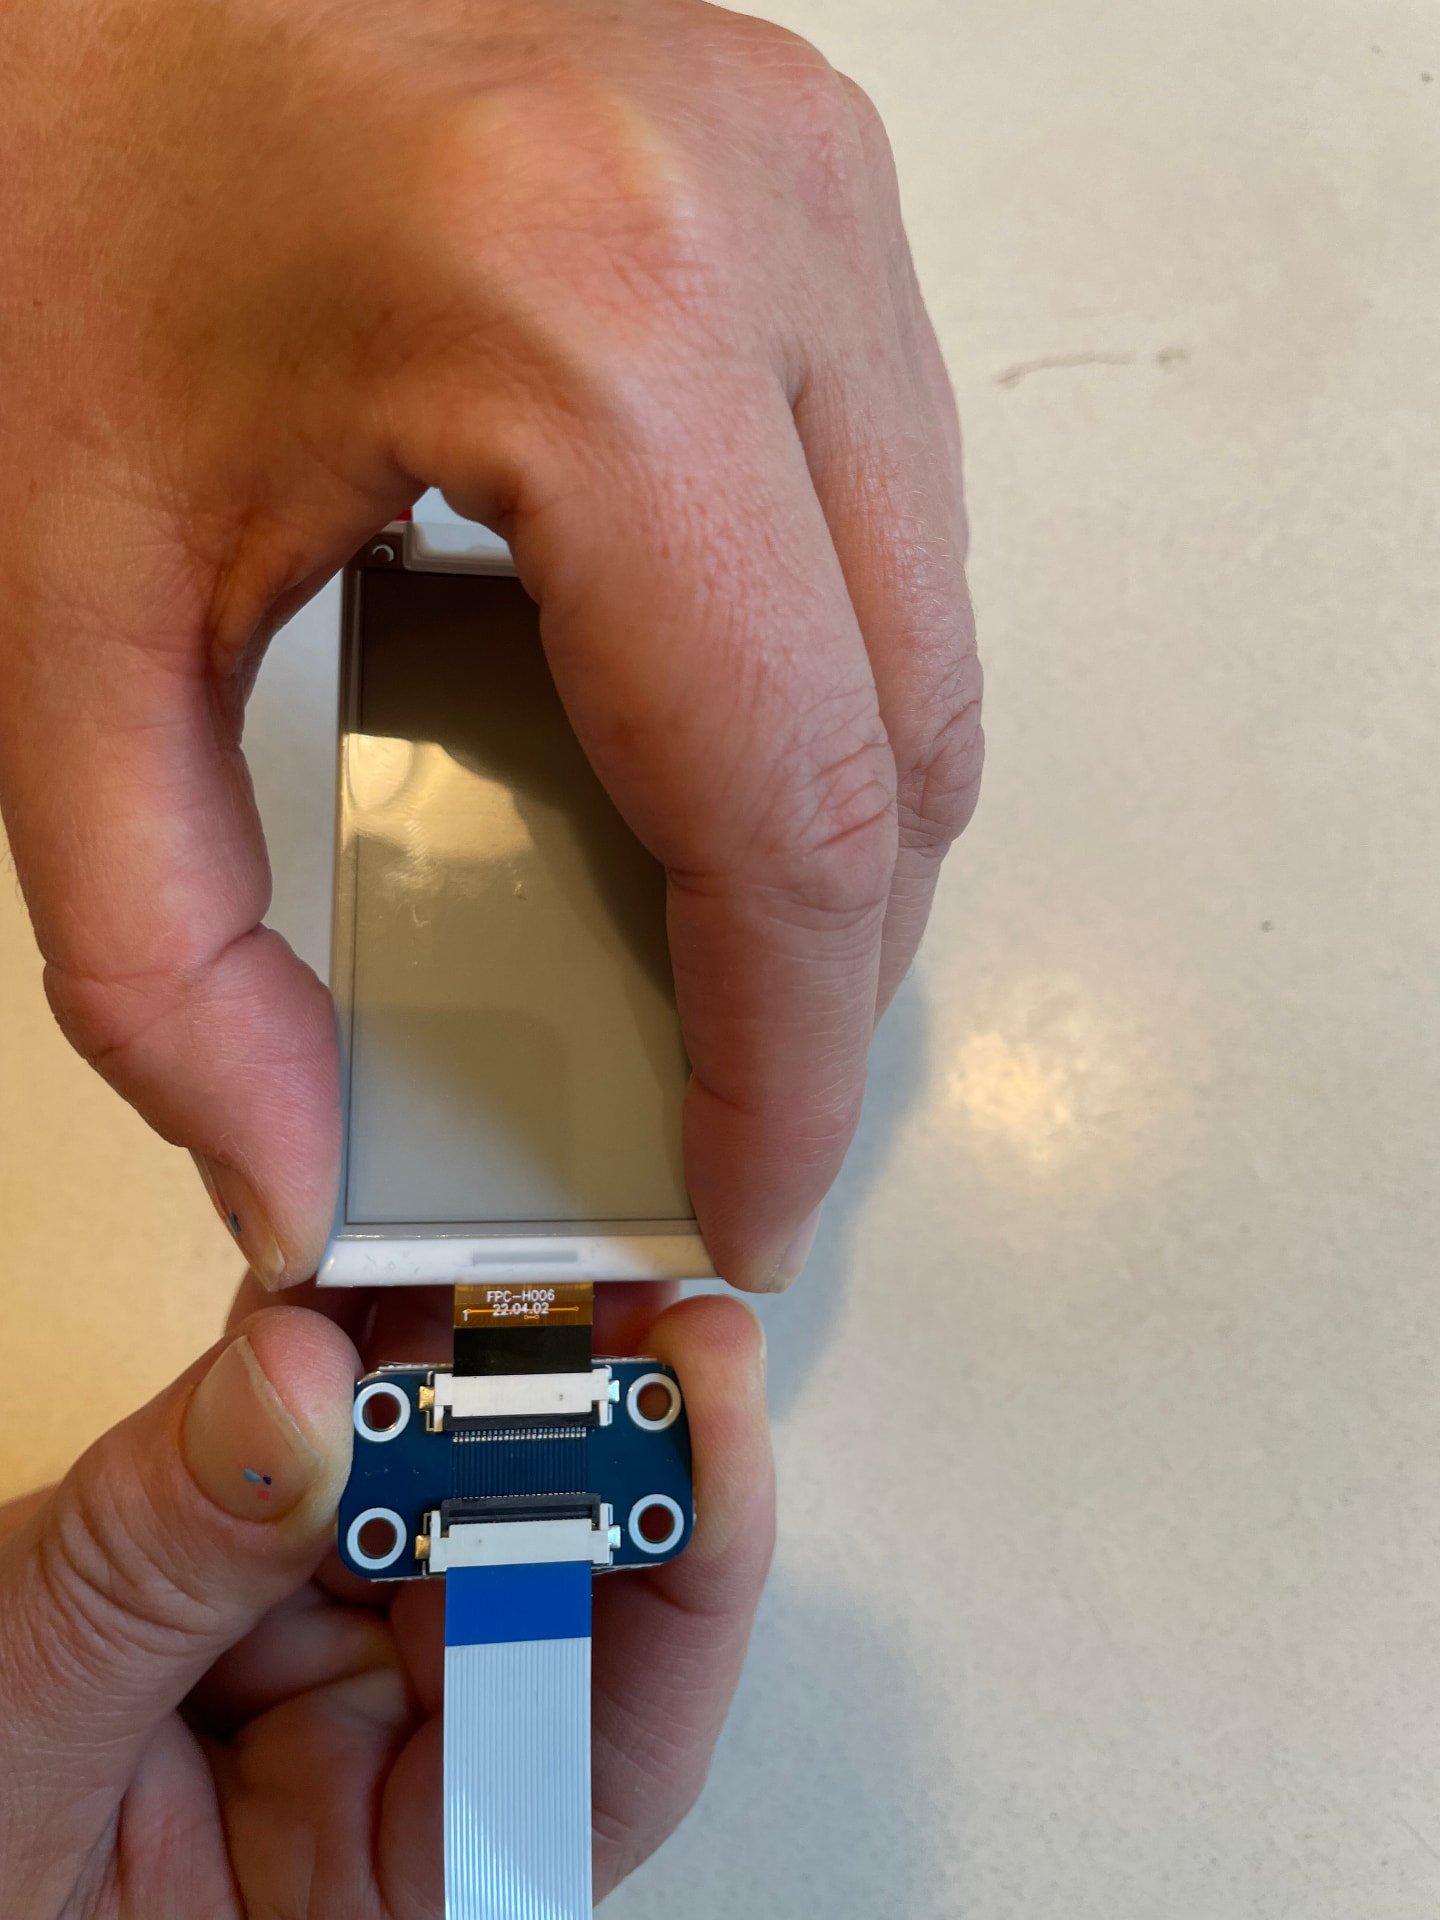
STEP 2 — INSERTED STRAIGHT AND ALL THE WAY 04
Press the latch closed
Hold the ribbon in place and press the latch down until it clicks flat. Give the badge a gentle tug — it should not move.
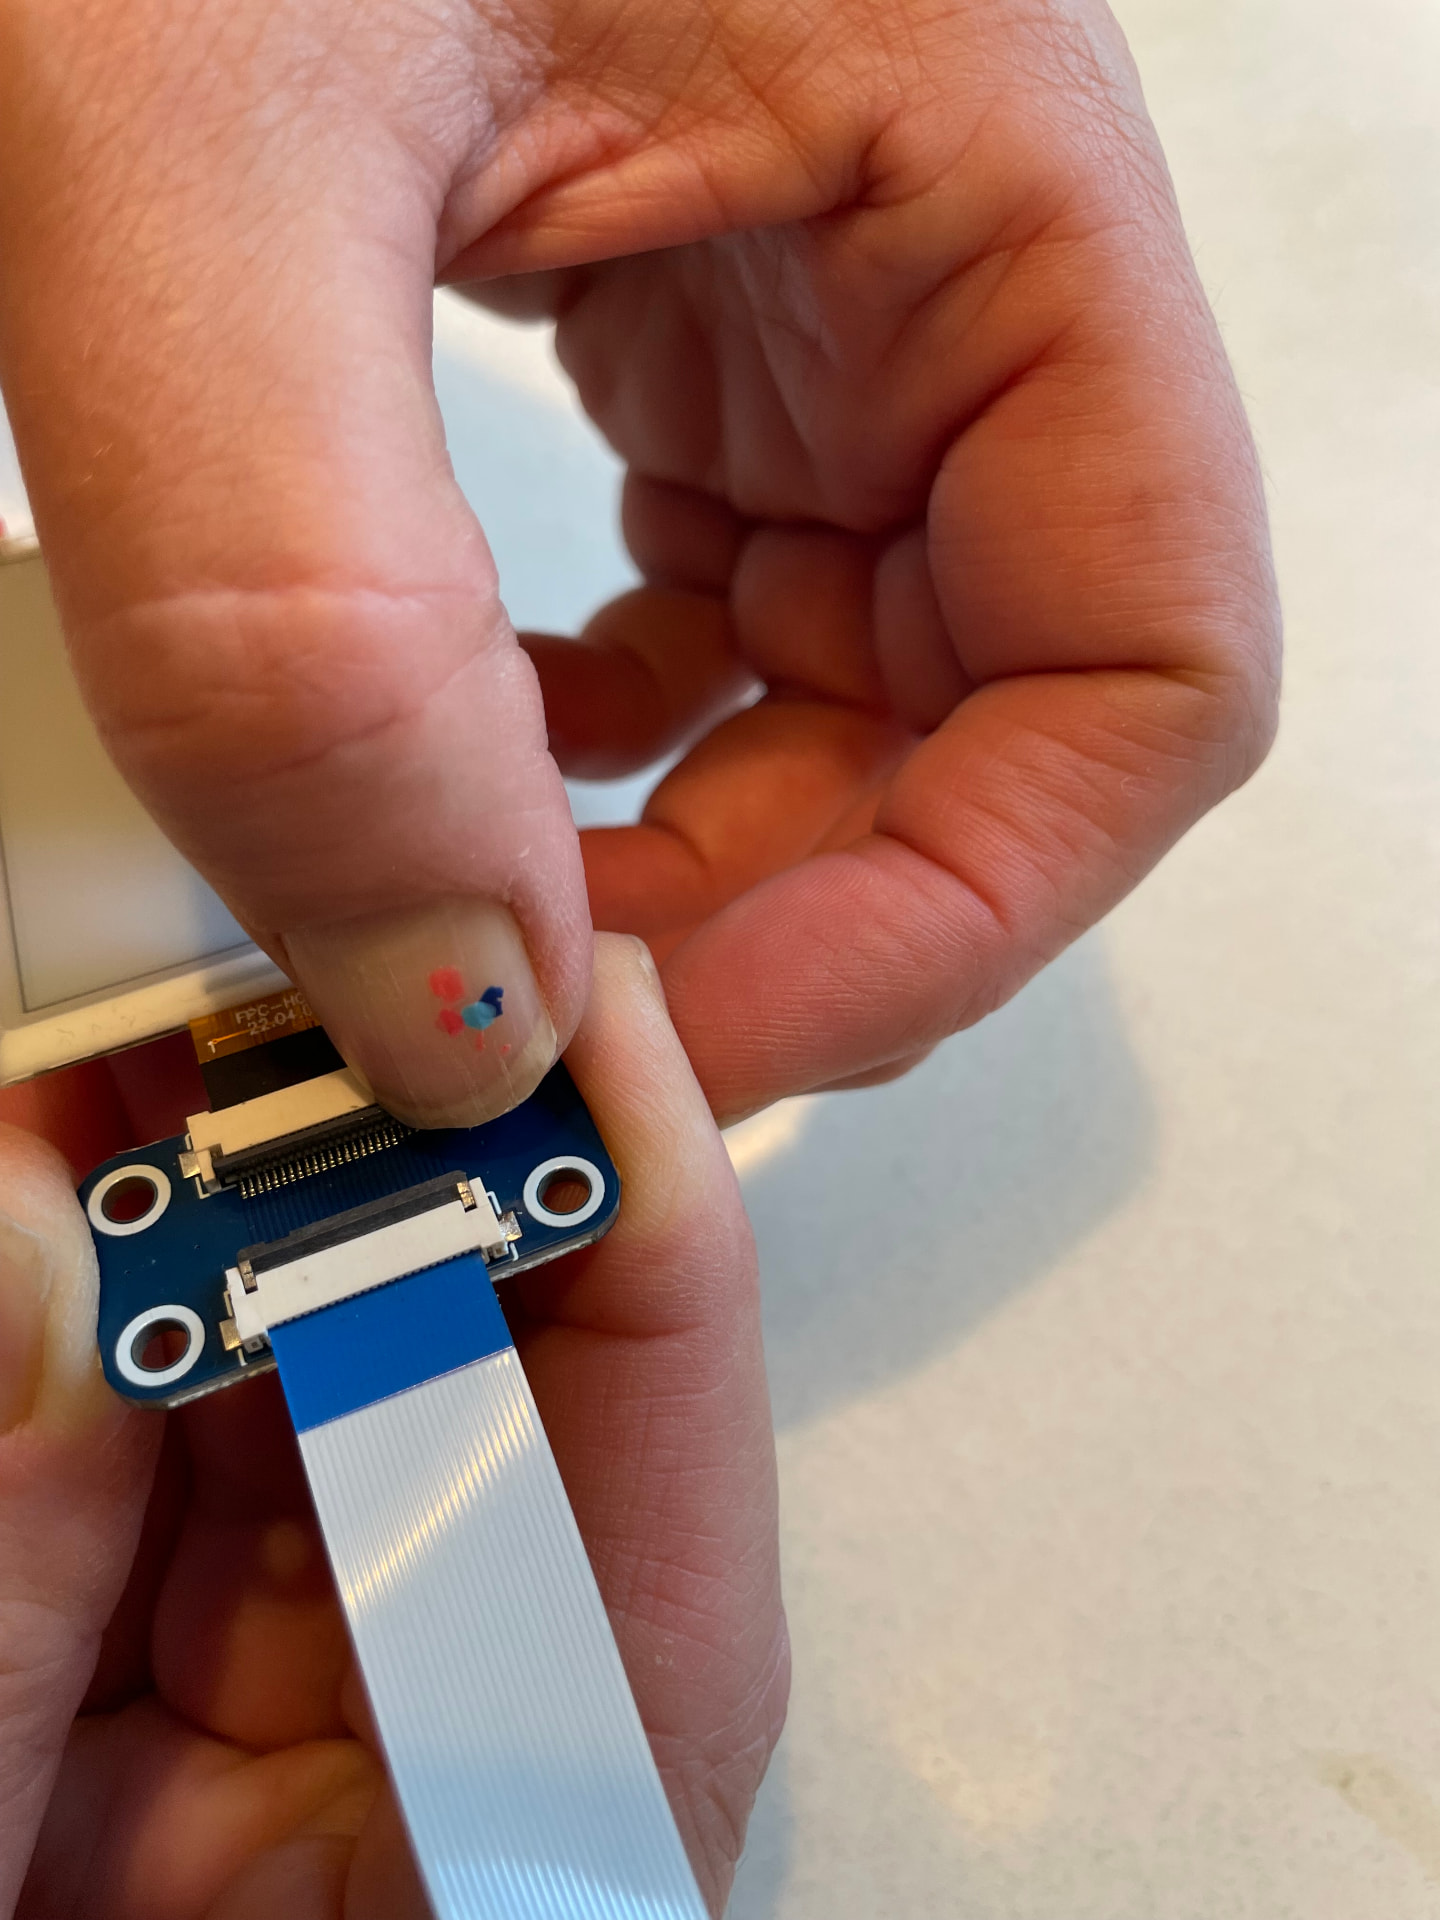
STEP 3 — LATCH PRESSED FLAT
then design it
Power up and open the editor
- 1 · Plug in USB-C. The badge refreshes and shows the programmer's WiFi name, password and web address.
- 2 · Join that WiFi from your phone or computer — or, if you already saved your own network on the programmer, stay on your home WiFi and use the address shown on the display.
- 3 · Open the address in your browser. The editor is served straight from the programmer, so no app or account is needed.
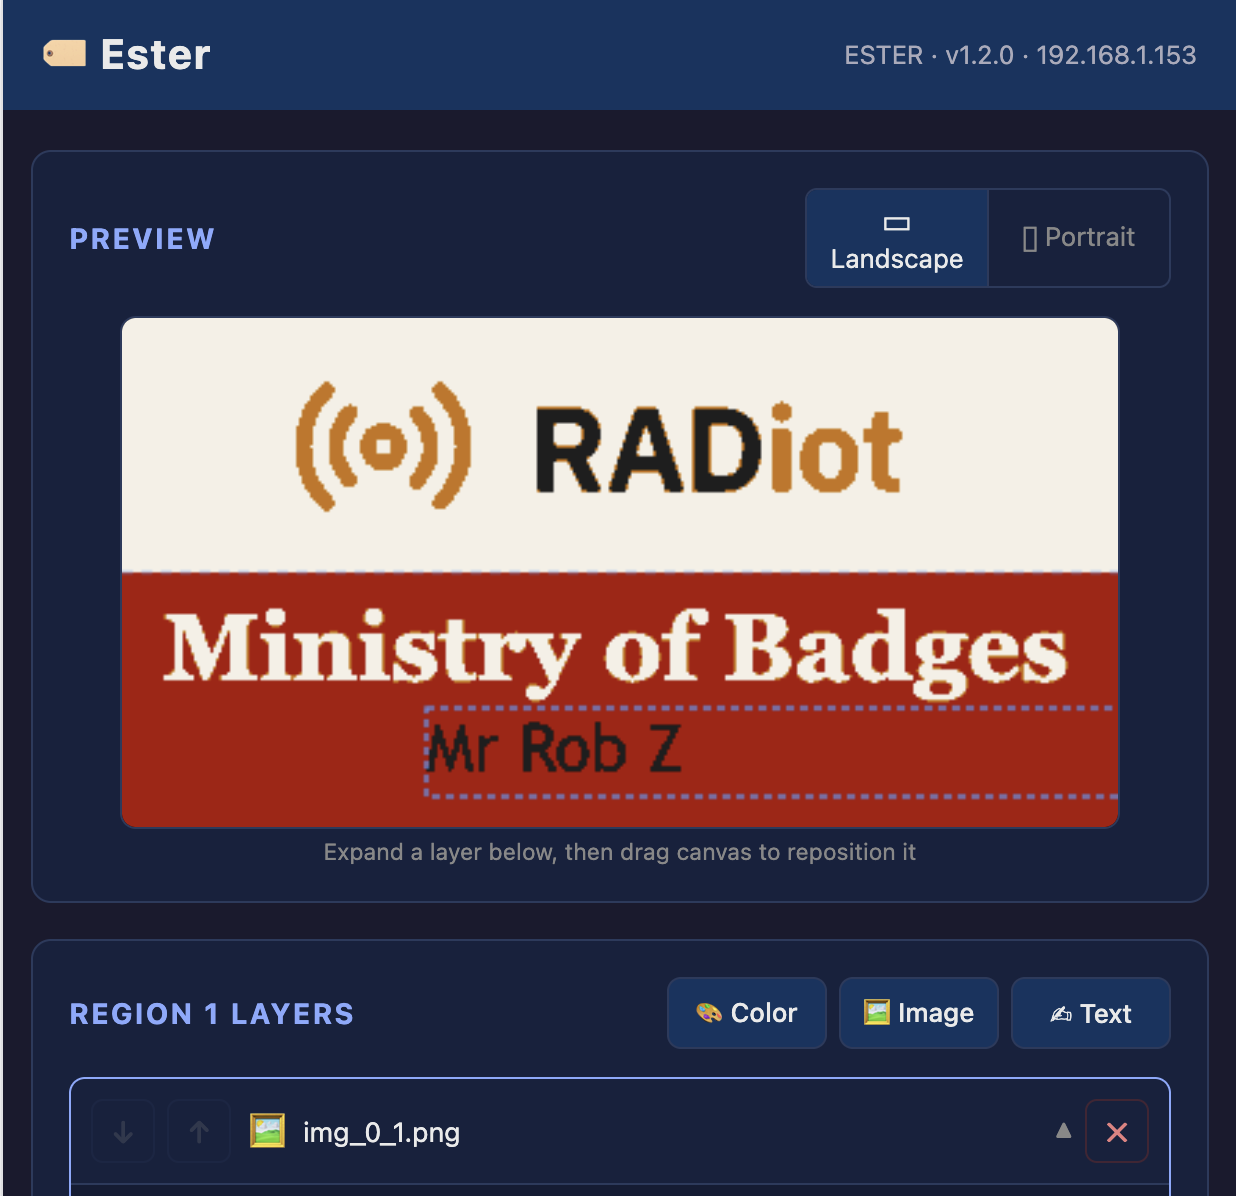
- 4 · Compose your badge — add colour panels, images and text layers, drag them into place, zoom and rotate.
- 5 · Press Update. Wait for the refresh to finish. Your layout and images stay saved on the programmer for next time.
Releasing the badge
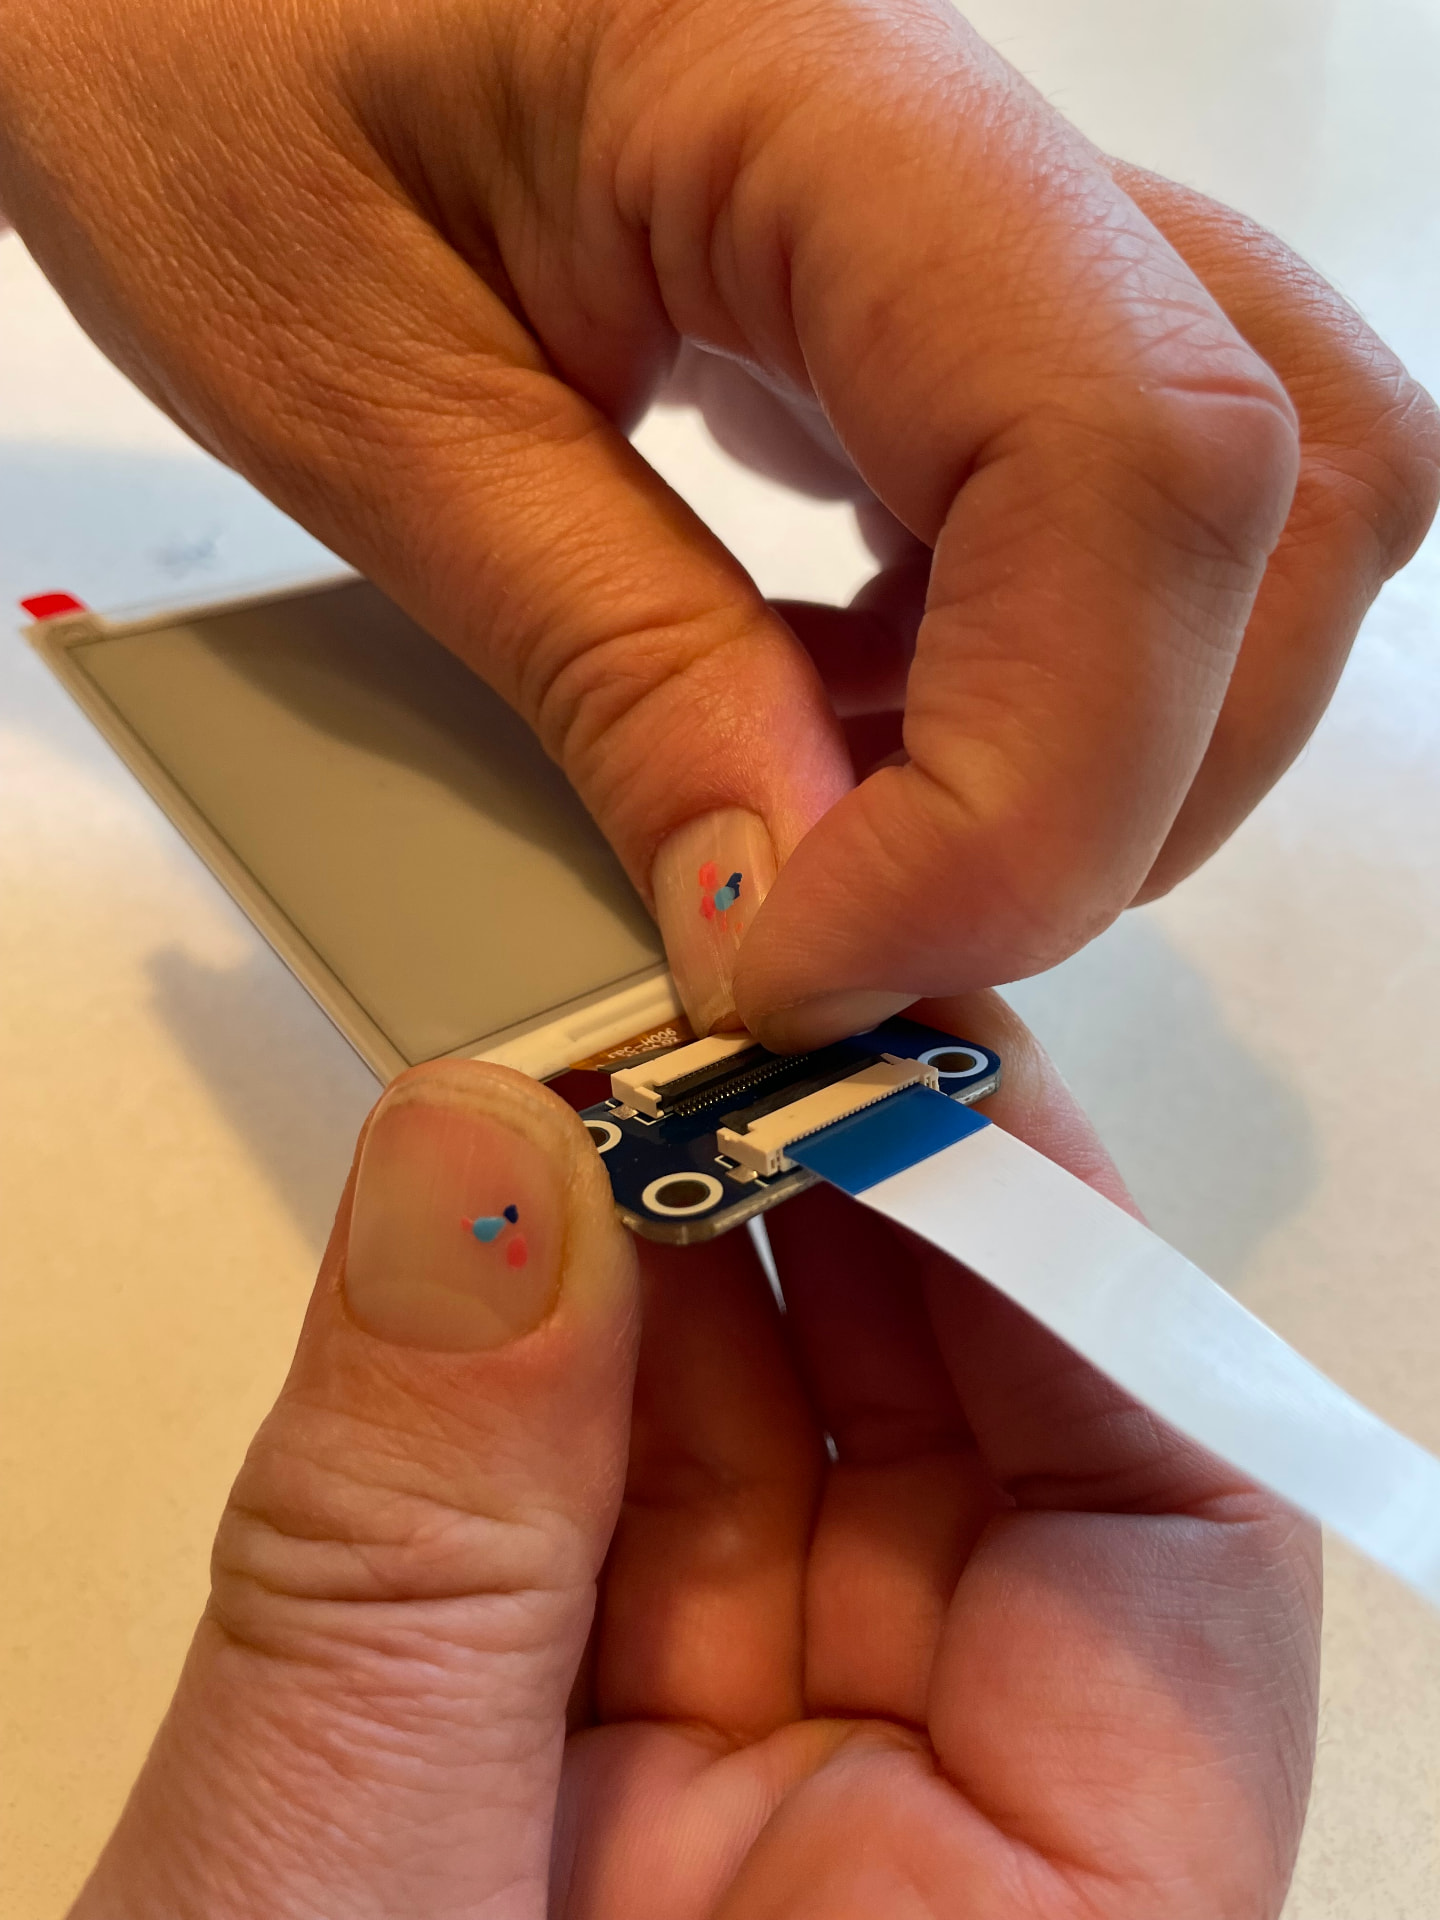
When the refresh has finished, unplug the USB-C cable first. Then lift the connector latch straight up again and pull the ribbon gently, straight out — never sideways and never with the latch still closed.
- · Unplug USB-C before you touch the latch
- · Lift the latch fully, then slide the ribbon out with no force
- · The image stays on the display with no power at all
- · Store the badge flat; the ribbon should stay uncreased
If something looks wrong
The display stays blank
Almost always the ribbon. Unplug USB-C, open the latch, reseat the ribbon fully and straight, close the latch and power up again.
Stripes or a partial image
The ribbon is slightly skewed in the connector. Reseat it so both edges sit evenly inside the connector mouth.
No WiFi from the programmer
Wait about ten seconds after plugging in, then look again. The name and password are printed on the display at every boot.